How to Fix a Dripping Tap
You don’t need to call the plumbers in if your tap is leaking; with a couple of quid and a little patience (and by following this advice), you’ll know how to fix a dripping tap in no time. The following advice has been compiled by our plumbing and home emergency team and it should help you silence the ceaseless dripping and reduce your water bill.
These instructions are suitable for most types of tap, however some ceramic cartridge taps (taps with levers) can be more difficult to repair. Some leaking ceramic taps require replacement ceramic discs, although in many cases these discs simply need a thorough clean.
You may need:
- A spanner
- A flat-head screwdriver
- A washer
- A piece of cloth
Turn off the water supply to the tap
Turn off your stopcock or find the isolation valve for the tap and turn this off. You may need to use a flat-head screwdriver to turn the isolation valves off. Usually, the stopcock is in the kitchen or in the cellar, while the isolation valve should be under the sink in question.
When you have shut down the water supply to the tap, turn the dripping tap on to remove any excess water and to reduce the water pressure. Then, plug up the plughole to ensure any small screws or parts don’t fall into the drains.
Remove the handle of the tap
Take off the cover or nozzle to find the retaining screw inside the tap. Then, with your screwdriver, unscrew the retaining screw, and take the head off the tap. Some retaining screws can be removed by hand, while others may require a tug with a spanner. If the tap has a shroud, carefully take this off, ensuring that you do not scratch it. You may need to use a piece of cloth to avoid scratching this larger headgear nut.
You should now be able to see the valve. Use a spanner to undo the valve by unscrewing the nut section at its bottom.
Replace the washer
Remove the washer – carefully prise it out of place with your screwdriver, if necessary. There may be a small nut that holds the washer into place – use your spanner to undo this nut.
Then simply replace this washer with a new one. It may be a good idea to look at the valve seating before you put the tap back together – if there is any roughness or damage to the valve seat inside the tap, then you may need to fix it. You will have to buy a combined washer and seating set.
Reassemble the tap, making sure the threads are level and everything is lined up properly. The leak should have now stopped. Make sure that the supply pipes are not also leaking – this may have happened if you accidentally damaged them during your repairs.
At 24|7 Home Rescue, we aim to keep our blogs accurate and helpful at the time of publication. However, details such as images, services, or product information may change. Content is for general information only and not professional advice. For the latest updates, please review our Terms & Conditions or contact us directly. 24|7 Home Rescue accepts no liability for actions based on outdated or incomplete content. Our team is always happy to help with any questions.
Recent Posts
29 May, 2026

08 May, 2026
24 Apr, 2026
Popular Posts

24 Mar, 2015

13 Apr, 2015
Related Posts
How Often Should a Boiler Be Serviced?
29 May, 2026
How to Unlock an Induction Hob –...
08 May, 2026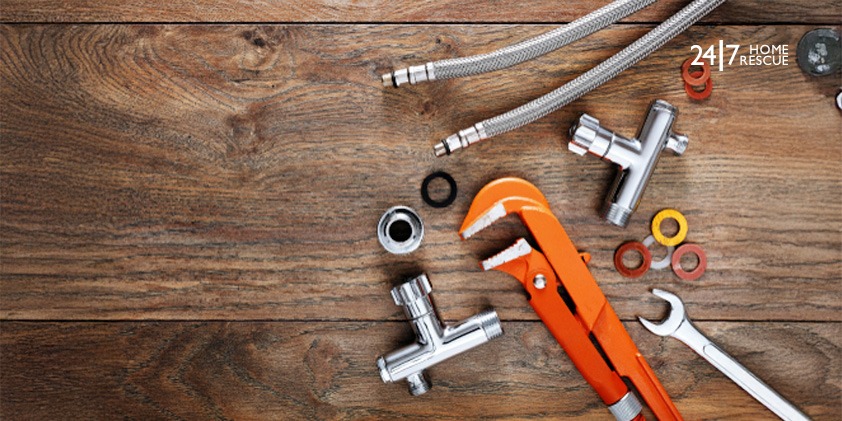
How to Free a Stuck Diverter Valve: A ...
02 Mar, 2026
What is a Lockshield Radiator Valve?
17 Feb, 2026
How to Reset Ideal Logic Combi 30 Boil...
22 Dec, 2025